Cryptocurrency ownership comes with freedom, but also responsibility. Unlike traditional banking, there is no central authority to protect your assets if something goes wrong. That’s why choosing the right wallet—and setting it up correctly—is critical. If you’ve purchased a Ledger hardware wallet, the official starting point for secure configuration is Ledger.com/start.
This detailed guide explains what Ledger.com/start is, how it works, and how you can safely initialize and use your Ledger wallet to protect your digital assets. From installation to long-term security practices, this article covers everything you need to know.
Ledger is one of the most trusted names in crypto security. Its hardware wallets are designed to keep private keys offline, protecting users from hacking attempts, malware, and phishing attacks. Whether you are holding crypto long-term or actively managing multiple assets, Ledger gives you complete control.
Ledger.com/start is the official onboarding page that ensures users follow a verified, secure process when setting up their device.
Ledger.com/start is the only recommended website for initializing a Ledger hardware wallet. It provides access to:
Using unofficial links or third-party software can expose you to scams and counterfeit applications. Starting at Ledger.com/start ensures that your wallet remains secure from the very beginning.
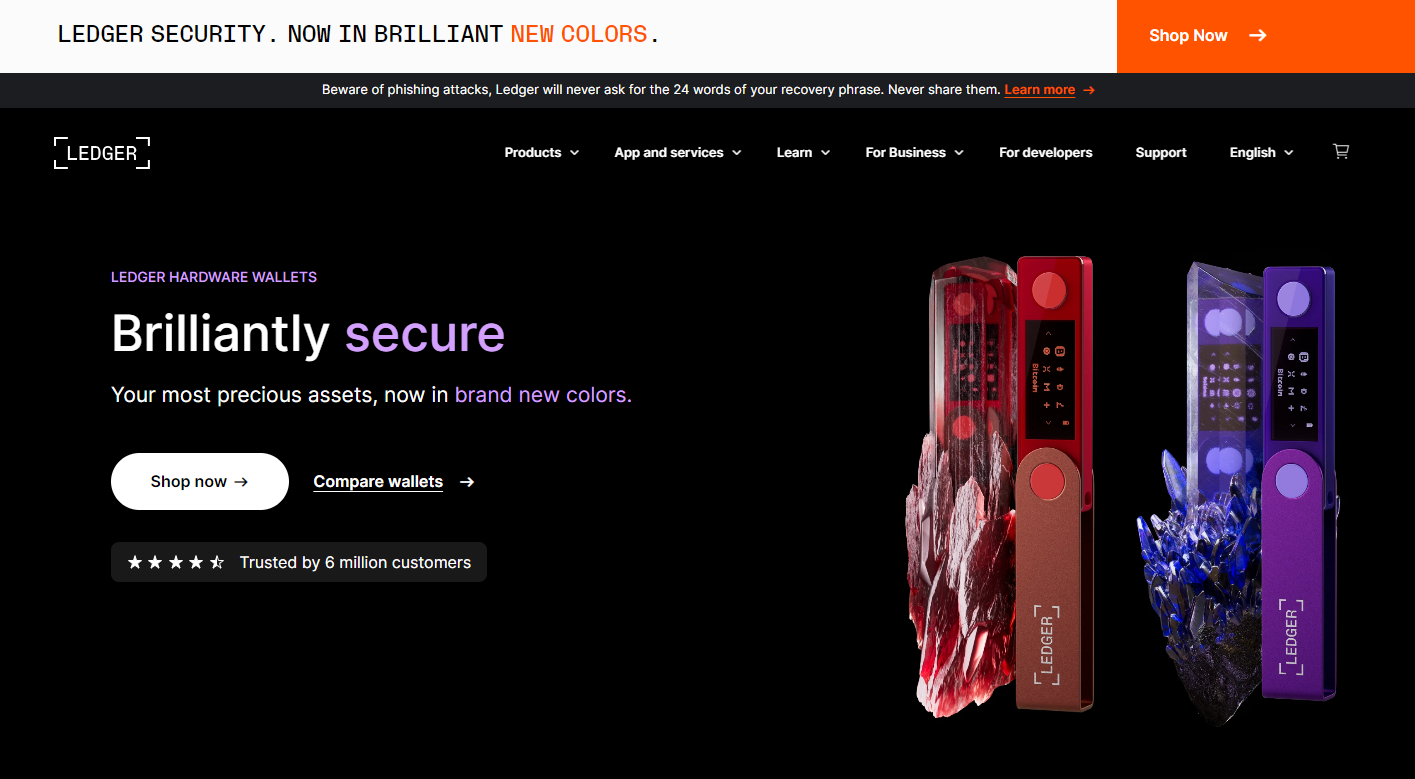
Ledger.com/start supports all current Ledger models, including:
Each device has a tailored setup process, which is why selecting the correct model during setup is important.
Manually enter Ledger.com/start into your browser. Avoid clicking links from emails, ads, or social media posts, as these are common phishing tactics.
Ledger Live is the companion app that allows you to:
Ledger Live is available for:
Always download Ledger Live directly from Ledger.com/start to ensure the software is authentic.
After installing Ledger Live:
Ledger Nano X users can also connect via Bluetooth for mobile use.
If this is your first Ledger wallet, select “Set up as new device.”
This process generates new private keys directly on your device, ensuring maximum security.
You’ll be asked to create a PIN code:
Choose a PIN that is difficult to guess and never share it with anyone.
During setup, your Ledger will generate a 24-word recovery phrase. This phrase is the master key to your wallet.
If your Ledger device is:
You can restore your assets using this phrase on a new Ledger wallet.
Best practices include:
Never:
Ledger will never request your recovery phrase under any circumstances.
Once setup is complete, Ledger Live will automatically verify your device’s authenticity. This step ensures:
This verification process happens securely and does not expose your private keys.
Ledger wallets use separate apps for each supported cryptocurrency.
You can remove and reinstall apps without losing funds, as assets remain on the blockchain.
After installing apps:
Ledger Live supports thousands of assets, including Bitcoin, Ethereum, stablecoins, and NFTs.
To receive crypto:
Always verify the address on the device screen before sharing it.
When sending crypto:
This approval step protects you even if your computer is compromised.
Ledger regularly releases firmware updates to:
Always update through Ledger Live only.
Scammers often impersonate Ledger using:
Remember:
Your crypto is not stored on the device itself. If your Ledger is lost:
As long as your recovery phrase is safe, your crypto remains secure.
Yes. It’s the safest way to initialize your device and avoid counterfeit software.
Advanced users may use third-party wallets, but Ledger Live is recommended for beginners.
Yes, Ledger supports NFTs across multiple blockchains.
Ledger does not charge fees. Network fees depend on the blockchain.
Ledger.com/start is the foundation of secure crypto ownership with a Ledger hardware wallet. By following the official setup process, users can confidently protect their digital assets from online threats, unauthorized access, and human error.
Ledger combines cutting-edge hardware security with user-friendly software, making it one of the most reliable solutions in the crypto ecosystem. Whether you’re new to crypto or managing a diverse portfolio, starting at Ledger.com/start ensures you are on the right path from day one.